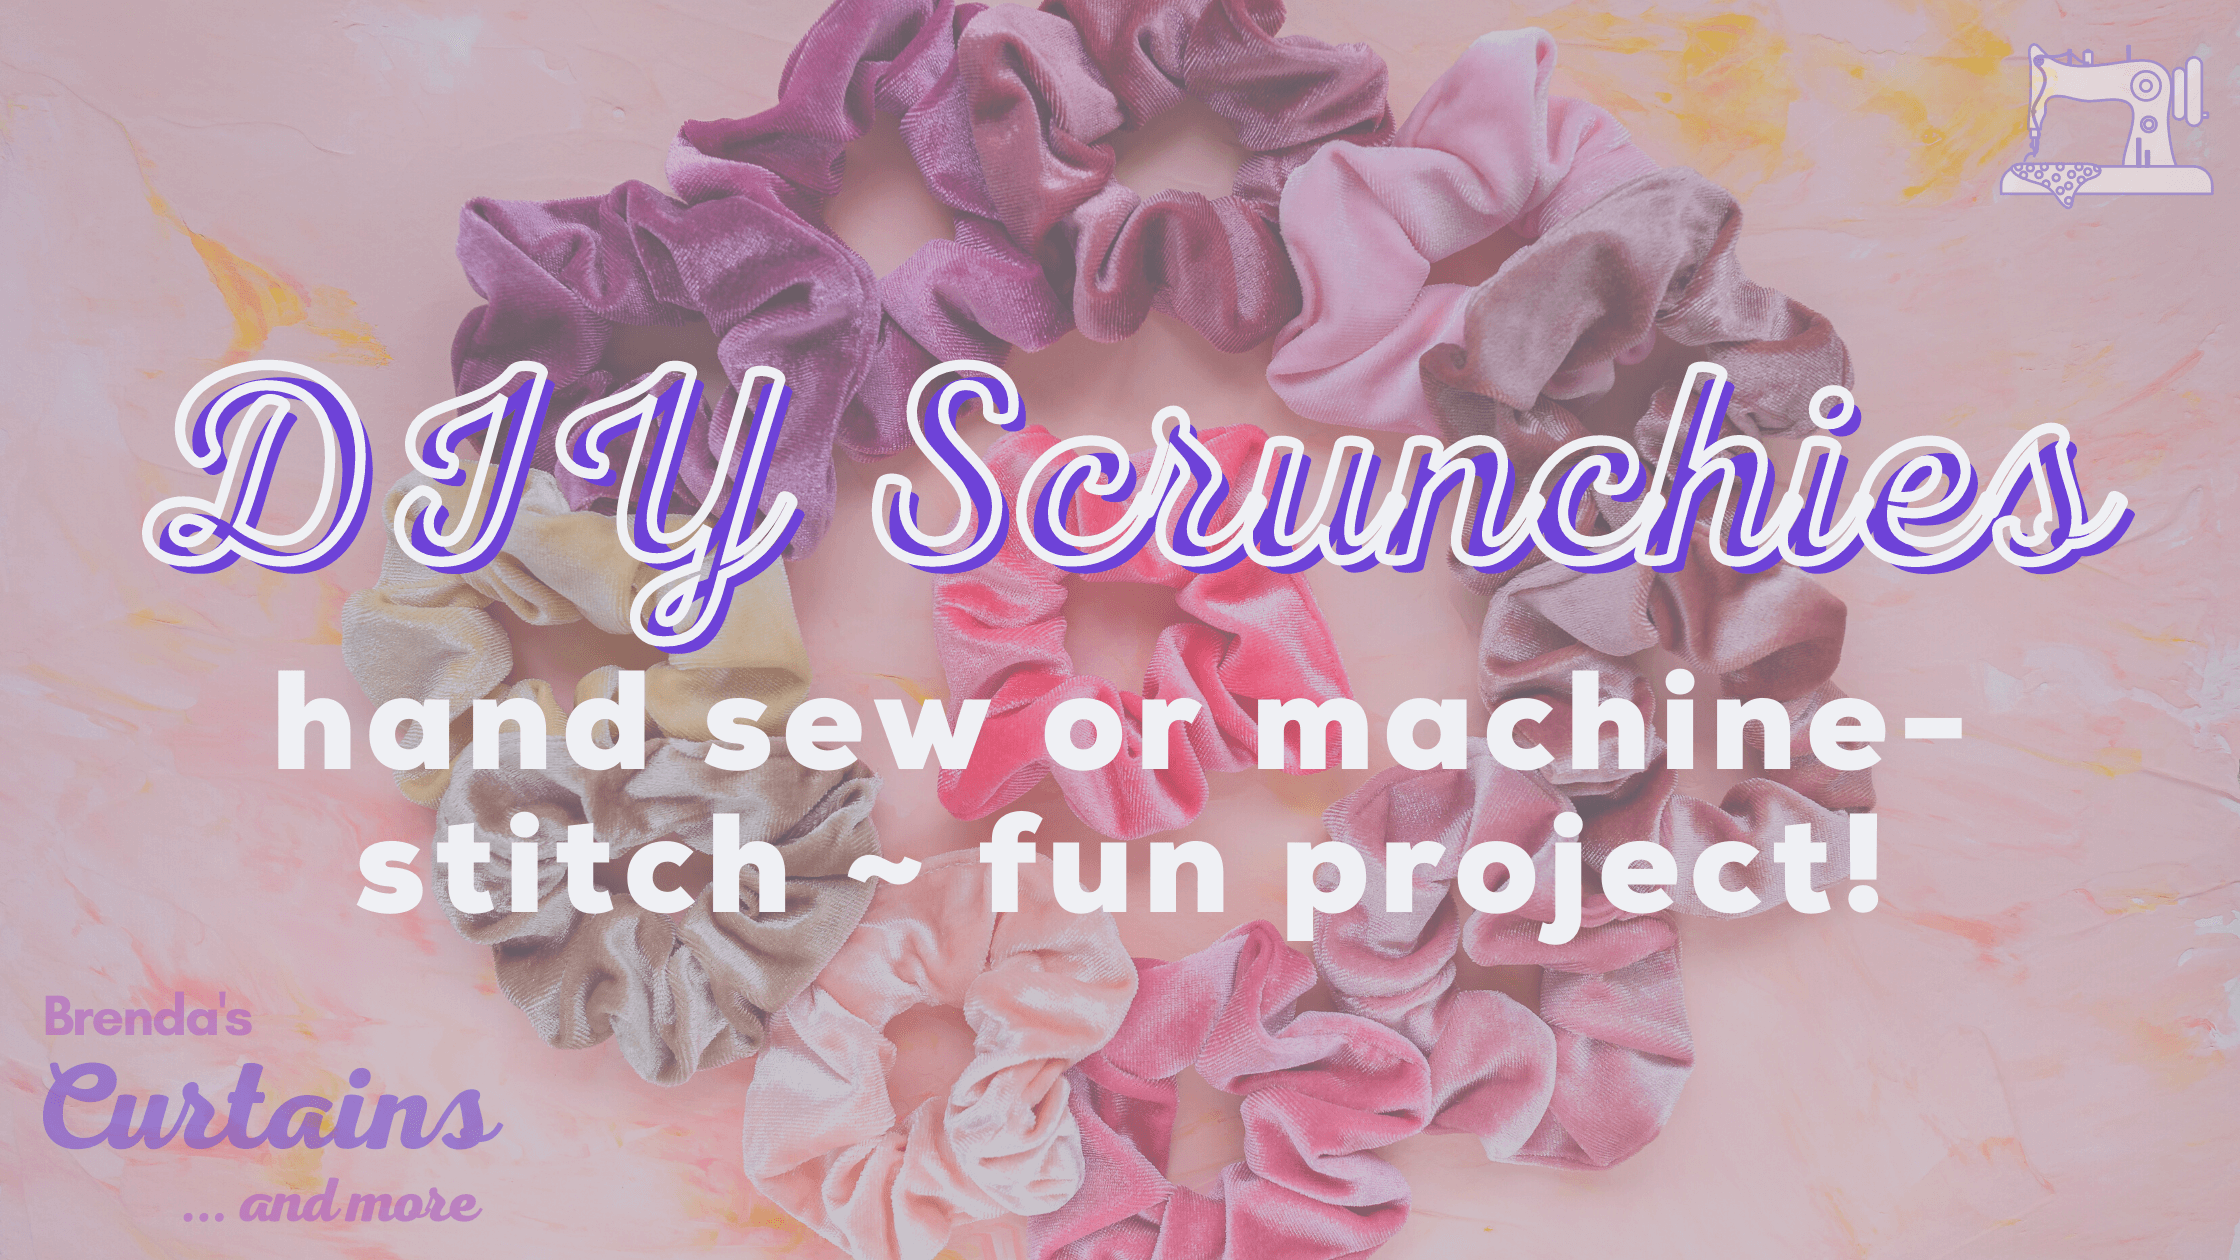
When you're trying to entertain the kids, do fun crafty things, and get them off the screens, making your own hair scrunchies is a really great project!
You only need to do it with them once, and then you can let them make their own and have fun while they're learning - whether they're hand-stitching or using a sewing machine.
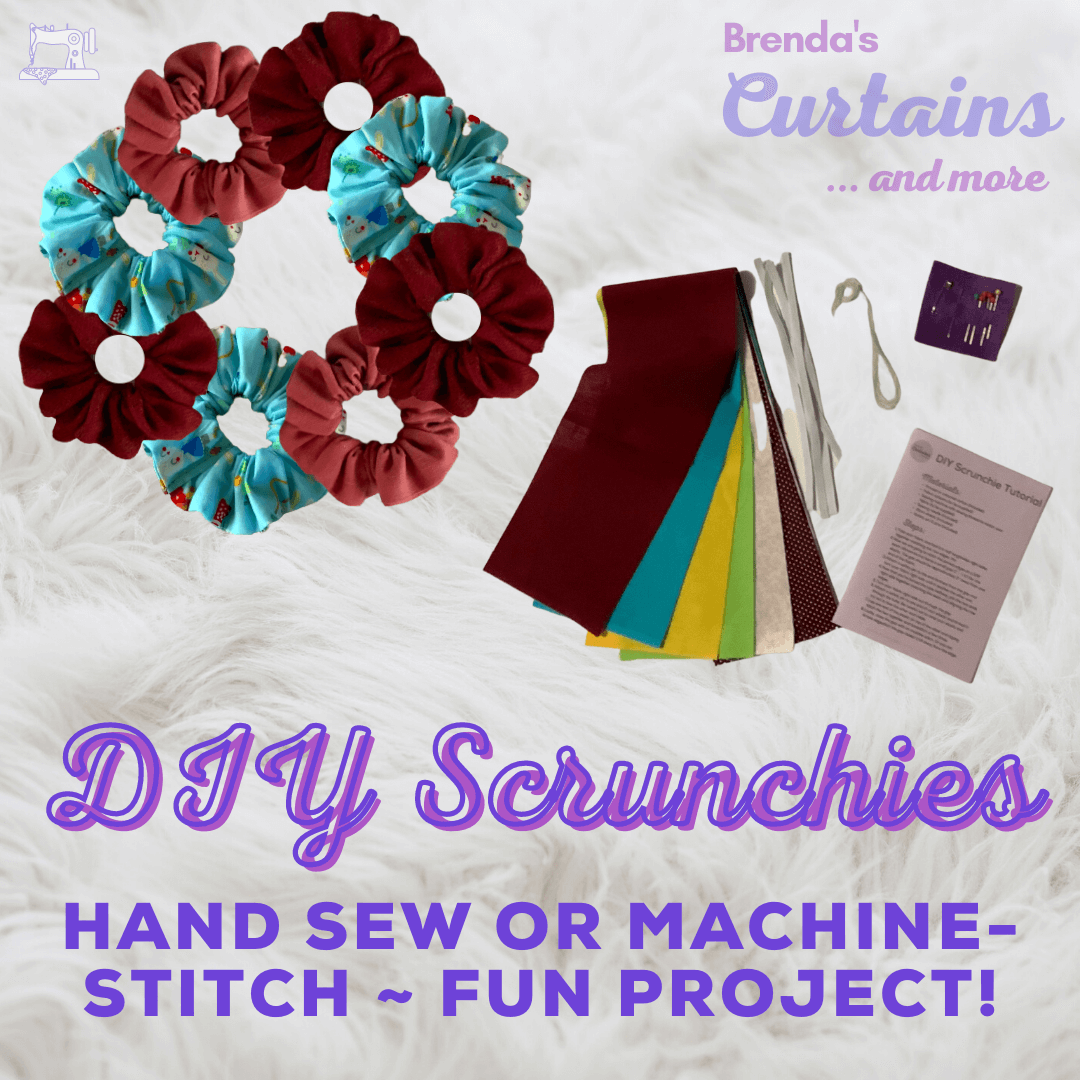
This blog is a step-by-step guide on how you can create your own hair scrunchies. If you don't have suitable fabric at home, we have created 14 different DIY Hair Scrunchie Kits that are available you to purchase on our click here!
The materials you need are:
- Printed or coloured cotton (included in our DIY kits)
- Fabric scissors (to be supplied)
- Sewing machine with sewing thread to match your fabric (to be supplied)
- Sewing needle (included in our DIY kits)
- 20cm elastic (included in our DIY kits)
- Safety pin & pins (included in our DIY kits)
Ready to start? Here's how:
- Take your fabric and fold it in half lengthwise, right sides together matching the raw edges, and pin down the length.
- Now we are going to stitch the pinned edges with a 1cm seam allowance.
- Attach a safety pin to the end and turn your fabric right side until it reaches the other end, you'll end up with fabric right side out.
- Now you have the tube turned the right way out, your fabric is starting to resemble a scrunchie!
- Iron the seam flat, which will make your scrunchie sit nicely when it's finished!
- Attach a safety pin to one end of your elastic & thread it through the tube. (Tip - attach your safety pin to the far end of your elastic & your fabric, then pull the elastic through, without worrying about the end coming out!)
- Attach a safety pin to one end of your elastic and thread it through the tube. Be careful not to twist your elastic and try not to lose the other end inside.
- Pull the two ends of the elastic together and tie in a tight knot.
- Bring the two ends of the fabric together around the elastic, and either hand-stitch or machine-stitch the two ends together.
- Trim off the excess threads, hold up your scrunchie and admire it! And here you have your pretty little scrunchie! Now you can practically make one to match every outfit!
Have lots of fun with your scrunchies, and be sure to tag @handacraftsandcurtains on Instagram and @HandaCraftsandCurtains on Facebook and use #brendascurtains when you're showing off your finished products on your socials!
If you'd like to download our FREE eGuide with pictures showing you each step along the way, click here and it's yours.